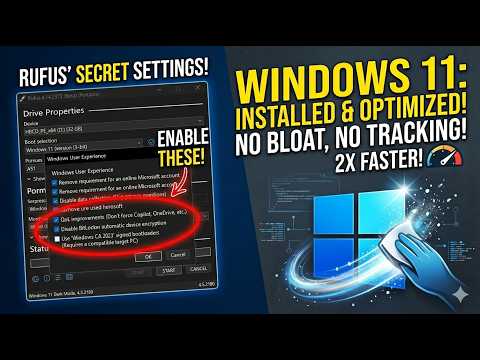
Introduction to Rufus and Windows 11 Installation
Windows 11 is the latest operating system from Microsoft, offering a range of exciting features and improvements over its predecessor. However, one common complaint about Windows installations is the inclusion of bloatware - unnecessary software that can slow down your system and consume valuable disk space. In this guide, we’ll explore how to use Rufus to install Windows 11 without the bloat, focusing on a clean and efficient installation process.
What is Rufus?
Rufus is a free, open-source tool that allows you to create bootable USB drives from ISO files. It’s a versatile utility that supports a wide range of operating systems, including Windows, Linux, and macOS. Rufus is particularly useful for creating bootable media for installing operating systems, and it offers several options for customizing the installation process.
Preparing for the Installation
Before you start, make sure you have the following:
- A computer with a USB port
- A blank USB drive with at least 8GB of free space
- The Windows 11 ISO file
- The Rufus utility downloaded and installed on your computer
Downloading the Windows 11 ISO File
To download the Windows 11 ISO file, visit the official Microsoft website and follow the instructions provided. You’ll need to select the correct version of Windows 11 (Home, Pro, etc.) and the desired language.
Creating a Bootable USB Drive with Rufus
- Launch Rufus on your computer.
- Insert your blank USB drive into the computer.
- Select the USB drive from the list of available devices in Rufus.
- Click on the ‘SELECT’ button next to the ‘Boot selection’ option and choose the Windows 11 ISO file you downloaded earlier.
- Under the ‘Image option’ section, select ‘Standard Windows installation’.
- Click on the ‘START’ button to begin the process of creating the bootable USB drive.
- Wait for Rufus to complete the process. This may take several minutes, depending on the speed of your computer and the size of the ISO file.
Installing Windows 11 without Bloat
Once you’ve created the bootable USB drive, you can proceed to install Windows 11 on your computer. Here’s how to do it without the bloat:
- Boot from the USB drive by restarting your computer and selecting the USB drive as the boot device in the BIOS settings.
- Follow the on-screen instructions to begin the Windows 11 installation process.
- When prompted, select the ‘Custom: Install Windows only (advanced)’ option.
- Choose the disk where you want to install Windows 11 and select the option to delete all existing partitions.
- Let the installation process complete. This may take several minutes.
Removing Bloatware from Windows 11
After the installation is complete, you’ll need to remove any bloatware that may have been included with the operating system. Here are some steps to follow:
- Open the ‘Settings’ app in Windows 11.
- Click on ‘Apps’ and then select ‘Installed apps’.
- Look for any apps that you don’t need or want and click on the three dots next to each app.
- Select ‘Uninstall’ to remove the app from your system.
- Repeat this process for each app you want to remove.
Tips for a Clean Windows 11 Installation
- Avoid installing unnecessary software during the initial setup process.
- Use the ‘Custom’ installation option to choose which features and apps you want to install.
- Regularly clean up temporary files and system junk using the built-in Disk Cleanup tool.
- Consider using a third-party uninstaller to remove any leftover files and registry entries from uninstalled apps.
Conclusion
Installing Windows 11 without bloat is a straightforward process when you use Rufus to create a bootable USB drive. By following the steps outlined in this guide, you can enjoy a clean and efficient Windows 11 installation, free from unnecessary software and clutter. Remember to regularly maintain your system by removing unused apps and cleaning up temporary files to keep your computer running smoothly.